
Pom poms say 70's to me throughout the year but around the holidays they just seem festive and fun. They can be snowflakes, ornaments, jumbo, tiny and any color. Last year I made a few large turquoise ones for my tree. This year I started an Advent Branch, making a pom pom for each day before Christmas. Here is how you make pom poms with the pom pom maker, which makes life much easier.
I have to say when I first bought this instrument I was completely dumb founded. And this past year a friend borrowed it and it confused her as well. So I decided to break it down for you and take photos of each step.
1. Buy a Clover Pom Pom maker. I bought mine at Purl Soho.


3. Now that yarn is wrapped around both sides get your scissors. Note I am showing photos from two different types of yarns. The turquoise yarn is Cascade Magnum and nice and fluffy! The purple below is Madeline Tosh, that has a nice varigated dyed look.


I have to say when I first bought this instrument I was completely dumb founded. And this past year a friend borrowed it and it confused her as well. So I decided to break it down for you and take photos of each step.
1. Buy a Clover Pom Pom maker. I bought mine at Purl Soho.

2. The maker opens up 2 ways. Open up so both sides pull over to one side. Wrap yarn around colored plastic piece until yarn becomes almost flush with both flat pieces.
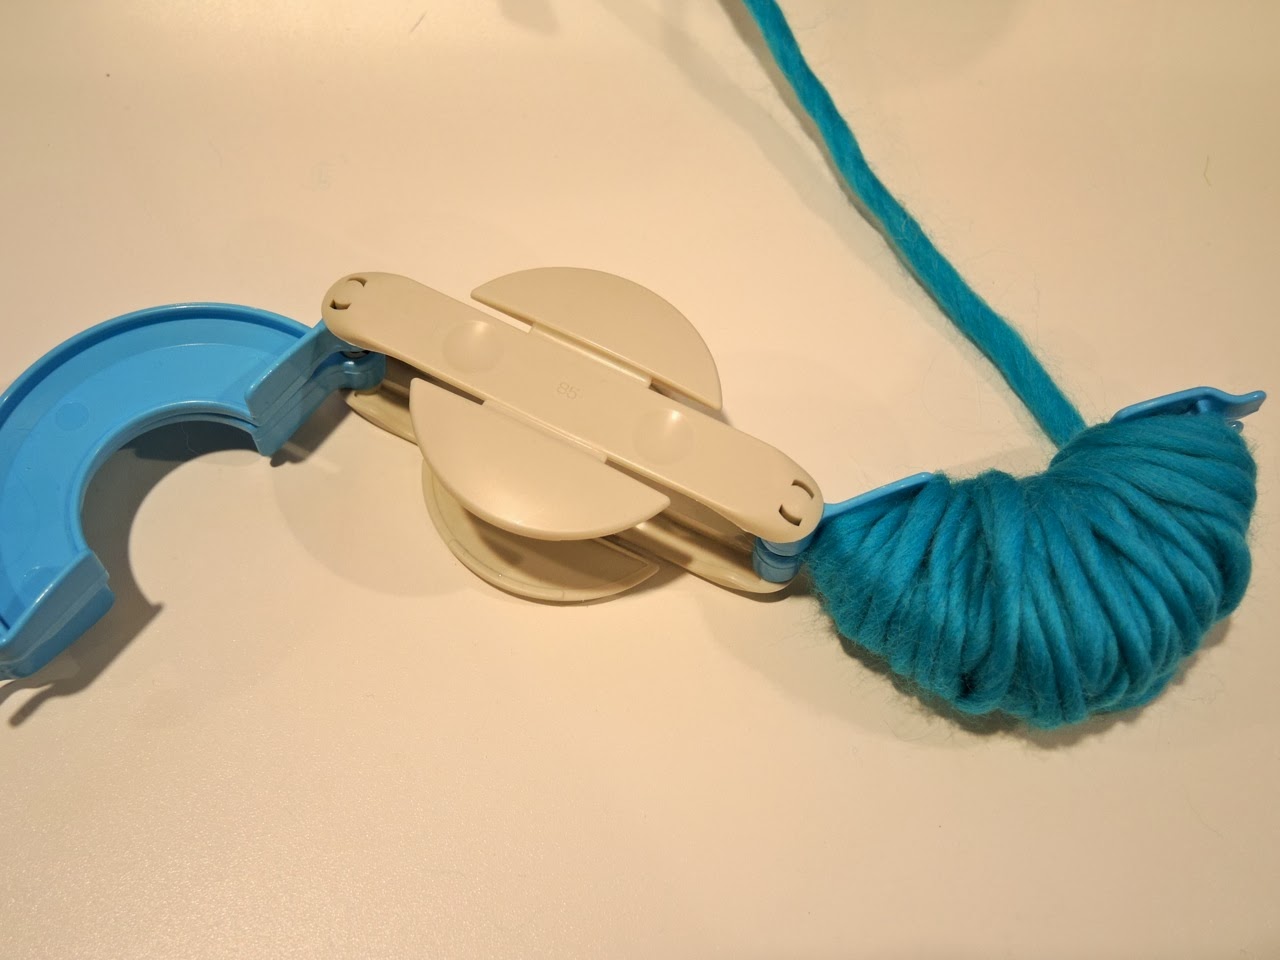
3. Now that yarn is wrapped around both sides get your scissors. Note I am showing photos from two different types of yarns. The turquoise yarn is Cascade Magnum and nice and fluffy! The purple below is Madeline Tosh, that has a nice varigated dyed look.

4. Cut yarn.


5. Then cut a long piece of yarn, about 18" and pull the yarn thru the pom pom maker. See where the yarn was just cut thru? That is where you are wrapping this new piece of yarn around. This is going to keep your short yarns of the pom together.

6. Pull tight and make a knot. Then pull apart the pom pom maker.

Last step you need to trim and fluff the yarn.
Now you can trim the tree or make your own Advent branch.


Happy Pom Making!
this all post is very interesting.
ReplyDelete